Get Started with Knobase
Knobase is designed to be intuitive and educator-friendly. Whether you're exploring AI for the first time or customizing agents for your school, these four steps will help you begin confidently.
Written By Christopher Lee
Last updated 11 months ago
1️⃣ Start a Chat with an Existing Agent
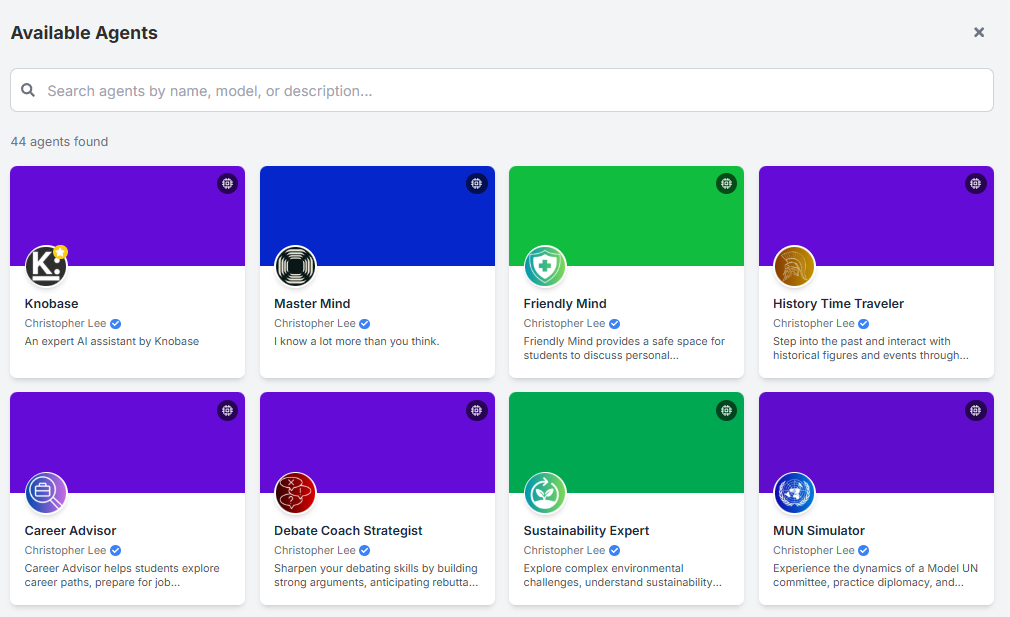
Navigate to the Home or AI Agents tab.
Select an agent from the list (e.g., “THS Helper”, “Math Mentor”).
Click “Start Chat” to simulate real-world queries.
Try asking:
“What’s the school uniform policy?”
“When is the next PTA meeting?”
“What topics are covered in Term 2 Science?”
💡 Use this step to test tone, accuracy, and document referencing.
2️⃣ Upload a School Document to the Knowledge Base
Go to the Knowledge Base tab.
Click “Upload” and select a file (PDF, Word, image).
Organize files into folders by subject or function (e.g., “Curriculum”, “Admin”, “Student Life”).
Connect the folder to your agent to enable Retrieval-Augmented Generation (RAG).
📁 Tip: Keep file names clear and concise, like “Year 10 Homework Policy.pdf”.
3️⃣ Create a Simple Agent with a Name and Description
Go to AI Agents → Click “Create New Agent”.
Choose a descriptive name (e.g., “Science Buddy”, “Campus Guide”).
Write a short description:
“Science Buddy is an AI agent designed to help Year 7 students with science questions and homework in a friendly tone.”
🧠 You can refine the system prompt later for deeper customization.
4️⃣ Explore Analytics to See Student Engagement Trends
Visit the Analytics tab.
View:
Top queries by students
Most active agents
Engagement heatmaps
Common feedback patterns
Use insights to improve agent prompts, add missing documents, or adjus